
Are There Rules In Bonsai?
The short answer is no, What are referred to as rules are actually a simple set of guidelines used to help beginners get a good foundational knowledge of common practises in bonsai.
But this is a topic that gets a lot of people hot under the collar. Those dreaded rules of bonsai. You often get those who proclaim that they are not tied down by rules and they will do what they want, But what we have here is not a method of control but how ever a great starting manual for bonsai. The term " Rules " is just an unfortunate name given to this general guide so i have been trying to refer to them as guidelines instead hoping this will catch on and make people more welcoming of reading these guidelines and hopefully learning some great foundations to bonsai.
Here is a list of Bonsai Guidelines that are guaranteed to improve your work if you become familiar with them. This list was taken from an article written by Brent Walston in 1997. I have modified the list to update it with modern standards and some of my own information. you can find the original article written in 1997 here; https://www.evergreengardenworks.com/rules.htm
Trunk and Nebari ( Root Base ) Guidelines:
1. Height should be six times the diameter of the trunk.
2. Trunk should lean slightly toward the viewer to avoid the feeling of instability in the tree and creating a welcoming feeling like a person bowing in respect.
3. Roots should flare at base to visually anchor the tree to give a feeling of stability.
4. Roots should radiate from the flare.
5. No eye-poking roots (directly at viewer).
6. Apex should lean toward viewer. ( apex finished in the direction the trunk started ).
7. Trunk should taper as it ascends. No reverse taper. ( gradual taper is preferred from major taper that result from major trunk chops. ) this can be achieve with proper technique.
8. Grafts should match understock and scion so that they are unobtrusive, or be placed low enough to disappear into the nebari.
9. Curves in trunk should not result in 'pigeon breast' (roundness toward viewer).
10. Apex should finish in the direction set by the base. 'Flow' should be maintained.
11. Trunk line should not move 'back on itself'. This is one of my guidelines ( Brent Walston ) and difficult to explain. It relates to the flow of the tree. A trunk line that moves back on itself creates a 'C' curve.
12. For formal and informal upright, the apex should be over the base.
13. In informal uprights, too many 'S' curves will be tiresome. ( try move in all planes to create a 3d design rather then a 2d design, forward back and side to side )
14. As a tree ascends the curves should be closer together (related to branch placement).
15. A tree should have only one apex. ( these days this is questionable ).
16. Twin tree trunks should divide at the base, not higher up.
Branch Guidelines:
1. No crossing branches, or branches that cross the trunk. ( especially in twin trunk trees, keeping negative space between the trunks is valuable ).
2. No eye-poking branches (pointed directly at viewer). ( if a branch starts directly from the front try to wire its slightly to the side ).
3. First branch should be placed approximately one third the height of the tree.
4. Succeeding branches placed at one third the remaining distance to the top of the tree. ( for literati bonsai all branches should be in the top third of the tree )
5. Branches go on the outside of the curves (No belly branches).
6. Branch calliper should be in proportion to the trunk. Branches that are thicker than one third the trunk calliper will be too thick. ( this applies to secondary branching and tertiary branching as well, always try to get smaller as you move outwards.)
7. First branch should be left (or right), second branch right (or left), third branch should be back branch. ( this is old school but still valuable to learn from ).
8. Branches should visually alternate, no parallel branches. ( also known as bar branching, although there has been high quality trees in the top shows around the world with bar branches, if it works then it works, but try to avoid it. )
9. Branches should diminish in size and calliper as they ascend. ( branch taper, thick to thin as the branch moves outwards. )
10. There should be space between the branches to 'Let the birds fly through'. ( this is known as negative space and can be the difference between your tree looking like a tree or a shrub. )
11. First and second branches (Left and Right branches) should be placed forward of the mid line to 'invite' the viewer.
12. First, second, and third branches are approximate 120 degrees apart, with the back branch not directly behind the tree.
13. Only one branch per trunk position, no 'wheel and spoke' or whorled branches, or bar branches (branches directly opposite each other). ( this causes swelling and reverse taper so remember this when developing trees.)
14. Branches should create an outline of a scalene triangle with the apex representing God, the middle corner man and the lower corner earth. ( once again this is old school but a very good guideline to learn from ).
15. Secondary branches should alternate left and right and follow the rules of main branch placement, except there should be no secondary branches moving up or down. This creates the foliage pad.
16. To create the illusion of an old tree, wire the branches down. Young trees have ascending branches. The branches near and in the apex can be horizontal or ascend since this is the young part of the tree. ( this is only true of conifers mainly, a lot of deciduous tree will not follow this theory ).
17. Branches for cascades generally follow the rules for uprights, except that the trunk moves down.
18. In twin trees, there should not be branches between the trees which would cross the trunks. The outside branches of both trees creates the triangle of foliage. ( keep negative space between the trunks)
19. A jin should not be hidden in foliage. ( this is also questionable, But it is best to frame your features with negative space in foliage. )
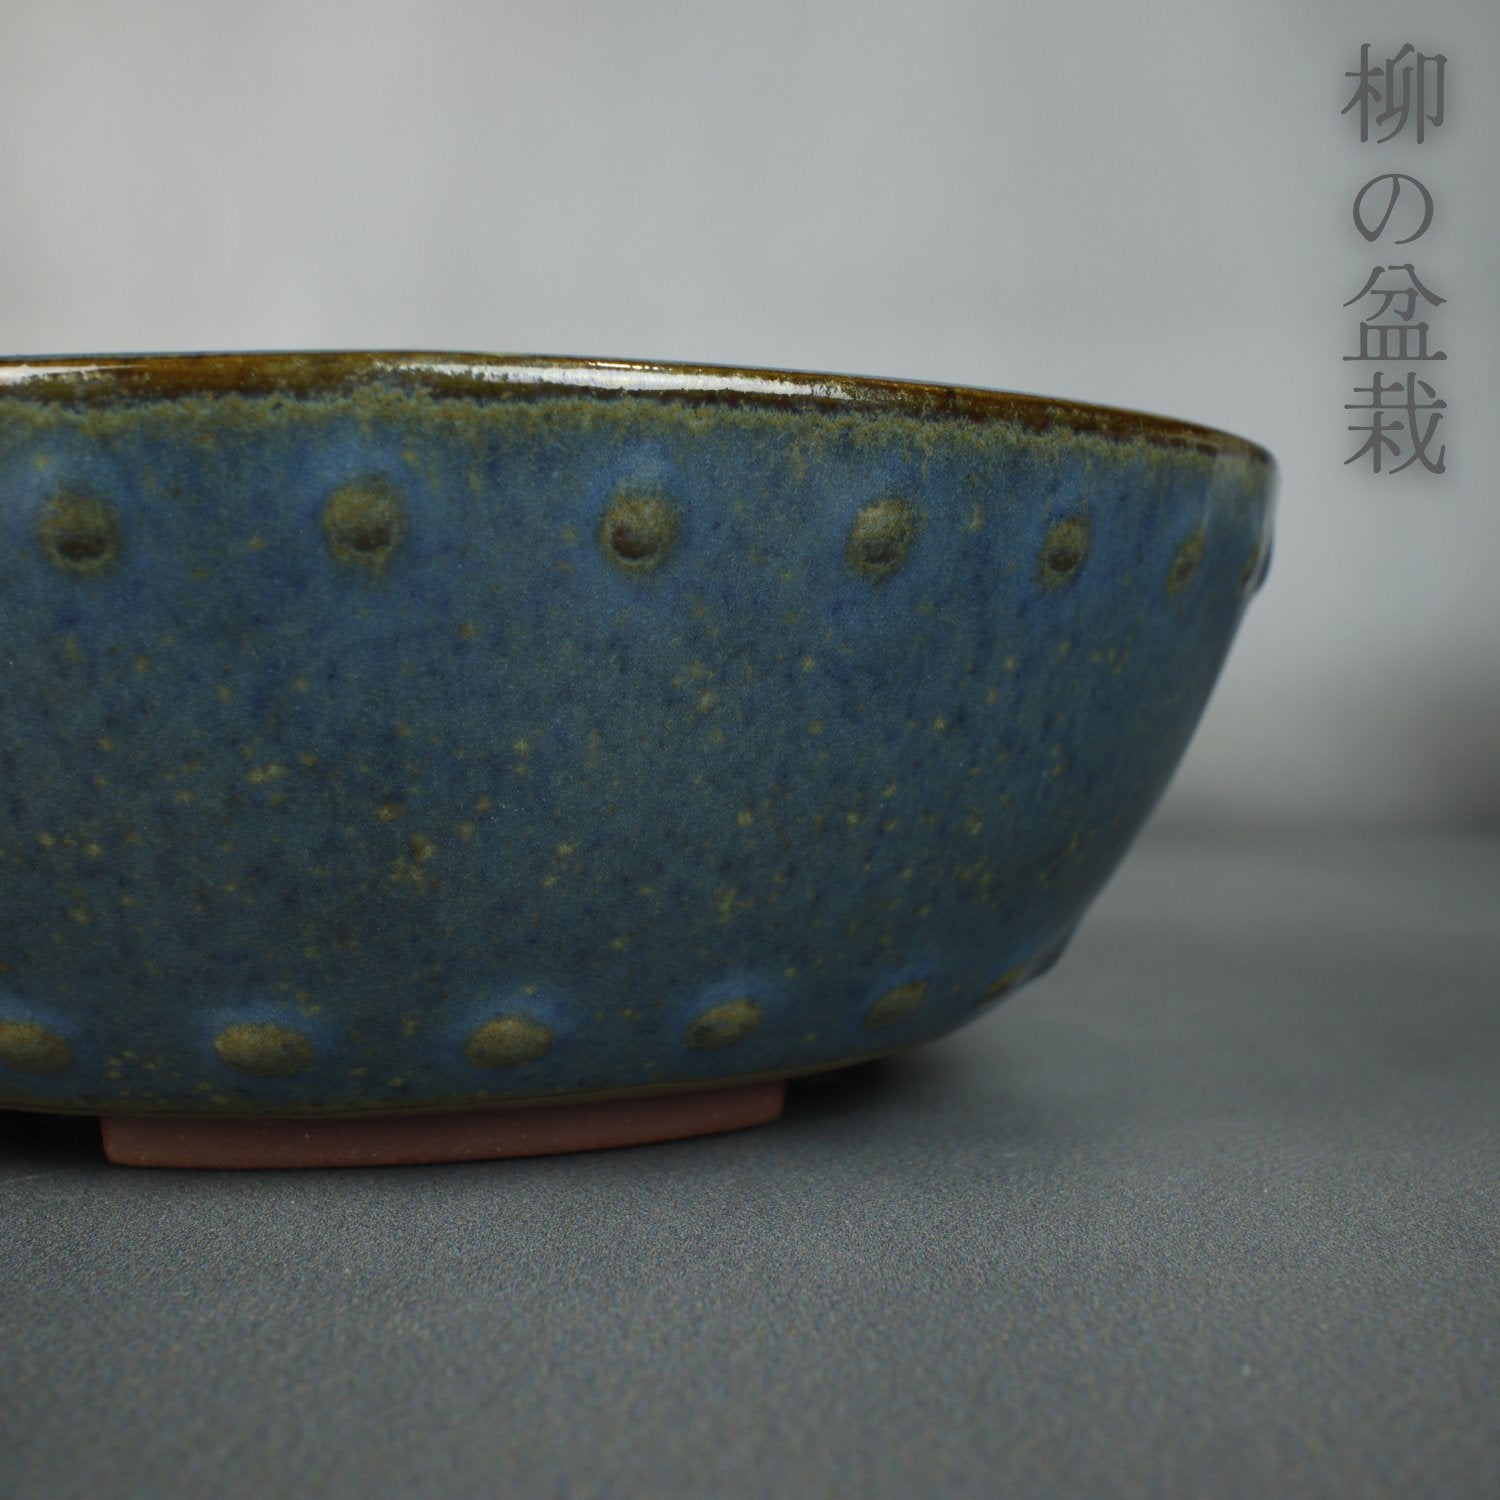
Pot Guidelines:
1. The tree should be placed behind the mid line of the pot, and to the left or right of the centre line.
2. The depth of the pot should be the calliper of the trunk, except for cascades.
3. Coloured glazed pots should be used for flowering and fruiting trees and the colours should complement the flower colour. ( glazed pots are also used for deciduous trees and to choose a colour it is best to decide when the tree will be shown and match the trees foliage colour at that time to the colour of the pot using a colour wheel to select complimentary colours. ) ( you can also use the colour of the pot to represent a certain season ).
4. The width of the pot should two thirds the height of the tree. For very short trees, the width should be two thirds the spread of the tree.
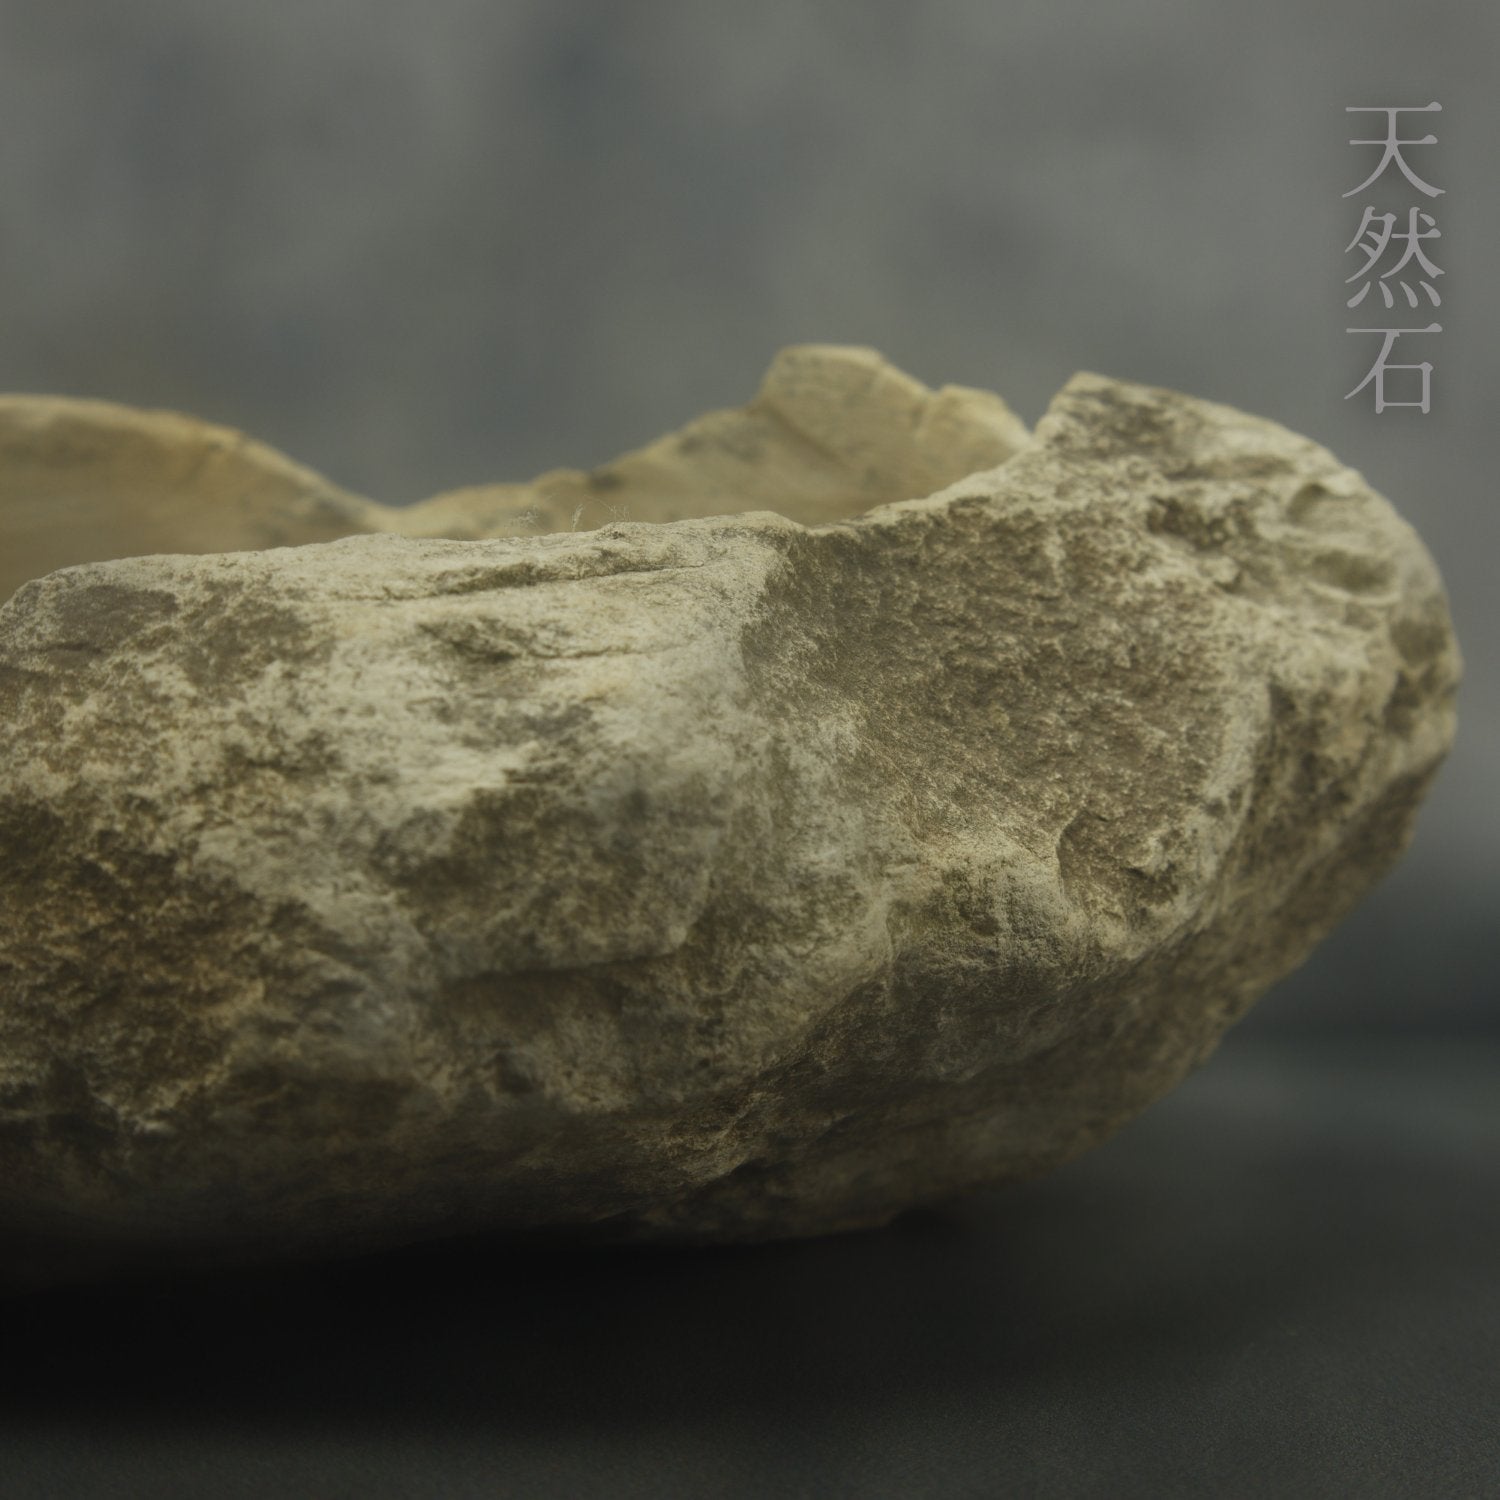
5. Style of the pot should match the tree. Uprights without much movement should be in rectangular pots, informal uprights with a lot of trunk movement should be in oval or round pots. Massive trees should be in deep rectangular pots. ( If I can give my own quick spin on this I will say masculine trees should ave sharp lines and sharp edges while feminine trees will have smooth lines and smooth edges, masculine trees are suited to rectangle while feminine are suited to oval unless the tree is a literati design then you will find the tree will suit a round pot. Square pots are more suited to semi cascade while deep squares and hex pots are suited to fill cascade. I would also add that free form pots like slabs suit forest planting but can be used for single trees. ) ( these are very rough guide lines and I will do a more in depth article and video in the near future ).
Culture Guidelines:
1. Soils should be uniform, not layered. (New guideline, you will still find controversy).
2. ( my take on this is I have to disagree with the original article, separating particle sizes in substrate can be useful usually with bigger particles on the bottom for drainage or allowing oxygen flow into the pot, medium particles for the body depending on tree size and fine on top to help keep moisture levels up on hot or windy days. )
3. Fertilize full strength. (New guideline, there will be controversy).
4. ( once again I have to respectfully disagree with the original article, a tree in refinement needs to have care taken in fertilization otherwise you could ruin your hard work. For example if you have a highly ramified tree with fantastic taper from first branch to the branch tip with small internodes you could very easily ruin that with a full dose of nitrogen ).
3. Water from above, not by submerging the bonsai, this will prevent the build-up of salts. ( I would add try to water just the soil and not the foliage, except on windy days I usually also water the foliage to that the tree does not dry out as quick. Although you can use the tree drying out quick to your advantage if you can water multiple times a day as the tree will very quickly move resources ).
4. Increase humidity by using a tray of pebbles and water or by keeping the area under the bench wet, not by misting. (This is my guideline, there will be controversy. Misting increases the salt build-up on the leaves, and does practically nothing to raise humidity.)
( once again ill respectfully disagree, misting the foliage isn’t always done to raise humidity but to cool down the foliage tips to slow down transpiration on hot or windy days, this is somewhat the same thing humidity does but more effective. I would not mist in the evening or on cooler days as this can lead to fungal infections. Only mist on days when the moisture will be moved quickly and not sit. )
5. Remove most of the 'fines' from any soil mix, using only coarse particles. ( this is great advise, fine particle clog a healthy soil mix. )
6. Water when the plants need to be watered, not by a fixed schedule.
7. Keep temperate climate plants outside. Only tropical and subtropical plants (for the most part) are suitable for indoor bonsai. Temperate climate plants must be given an appropriate period of cold dormancy if they are to be kept indoors.
( a controversial opinion of mine is that having trees inside does not represent doing the art of bonsai as you are just more or less practising the art of keeping a tree alive rather then getting the tree to its maximum potential by maximizing its vigour only gained by keeping trees outdoors and protected when temperatures reach a dangerous level for certain species. In the art of bonsai we create the best tree we can with the material we have so to get this we should give the plant all the natural elements it needs to survive. Some people don’t have access to outside environment and such keep tropical trees as Bonsai which is fine but unfortunately those trees will never reach the potential they could if they were kept outside ).