
Everything from disinfecting to cleaning and sharpening and after use maintenance.
So if you want to learn about that and stick around.
All right, so before we start the article, just a quick disclaimer letting you know that sharpening tools is not a profession of mine.
This is just how I look after my tools and what I've had success with, so take everything with a grain of salt, but if it works for you then fantastic.
First, we'll just go over a few of the things that I use for tool care and maintenance.
First is a Crean Mate
it's for cleaning all the SAP and gunk off the blades.
And then the next thing we've got is, we've got two sharpening stones.
OK, two whetstones, so these are for, as i said, sharpening your bonsai tools up.
So we've got a couple of different grits we use but we will discuss them further down.
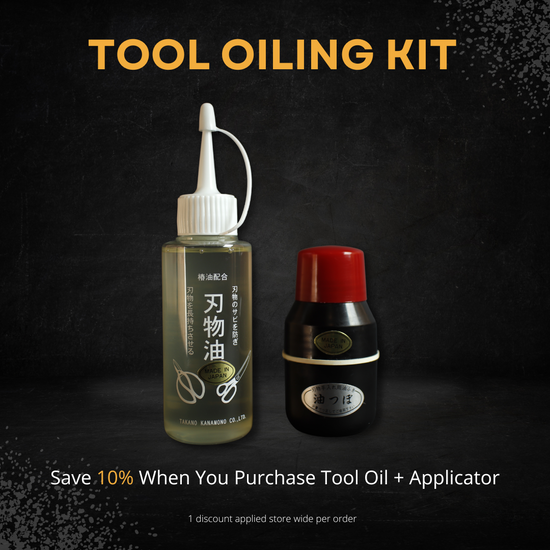
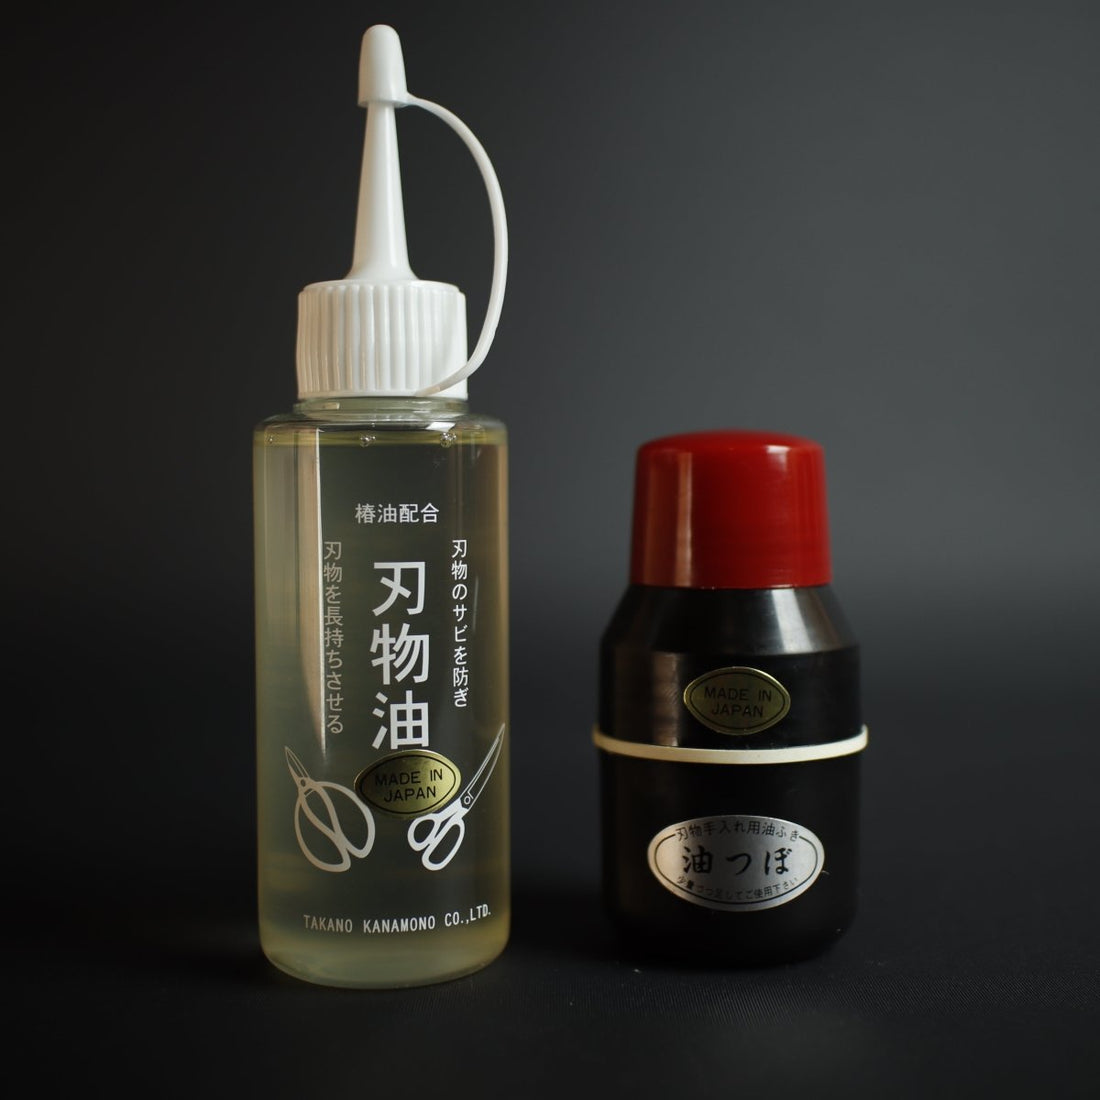
Then we've got some camellia oil, and a tool oil applicator.
And also we've got our isopropyl alcohol which we use to disinfect our tools as we're moving through, working on each of our trees.
First lets talk about the Crean Mate
Now these are actually quite soft, and it's basically like a Sap eraser.
You know, some people call them a sap eraser.
now I do want to point out that some people use these wet and some people use them dry and nobody is right or wrong.
They work both wet and dry.
Me personally I use mine dry and it works just fine.
some people say that when they use their crean mate they try to avoid the edges as much as possible, and while it is a good idea to always try to avoid you're cutting edges with anything that you do.
A crean mate is not so aggressive or abrasive that it's actually going to take the edge off your tools.
I mean, as I said, it's always good to approach these things with a bit of caution, but you should be fine.
But that's basically it for the cremate.
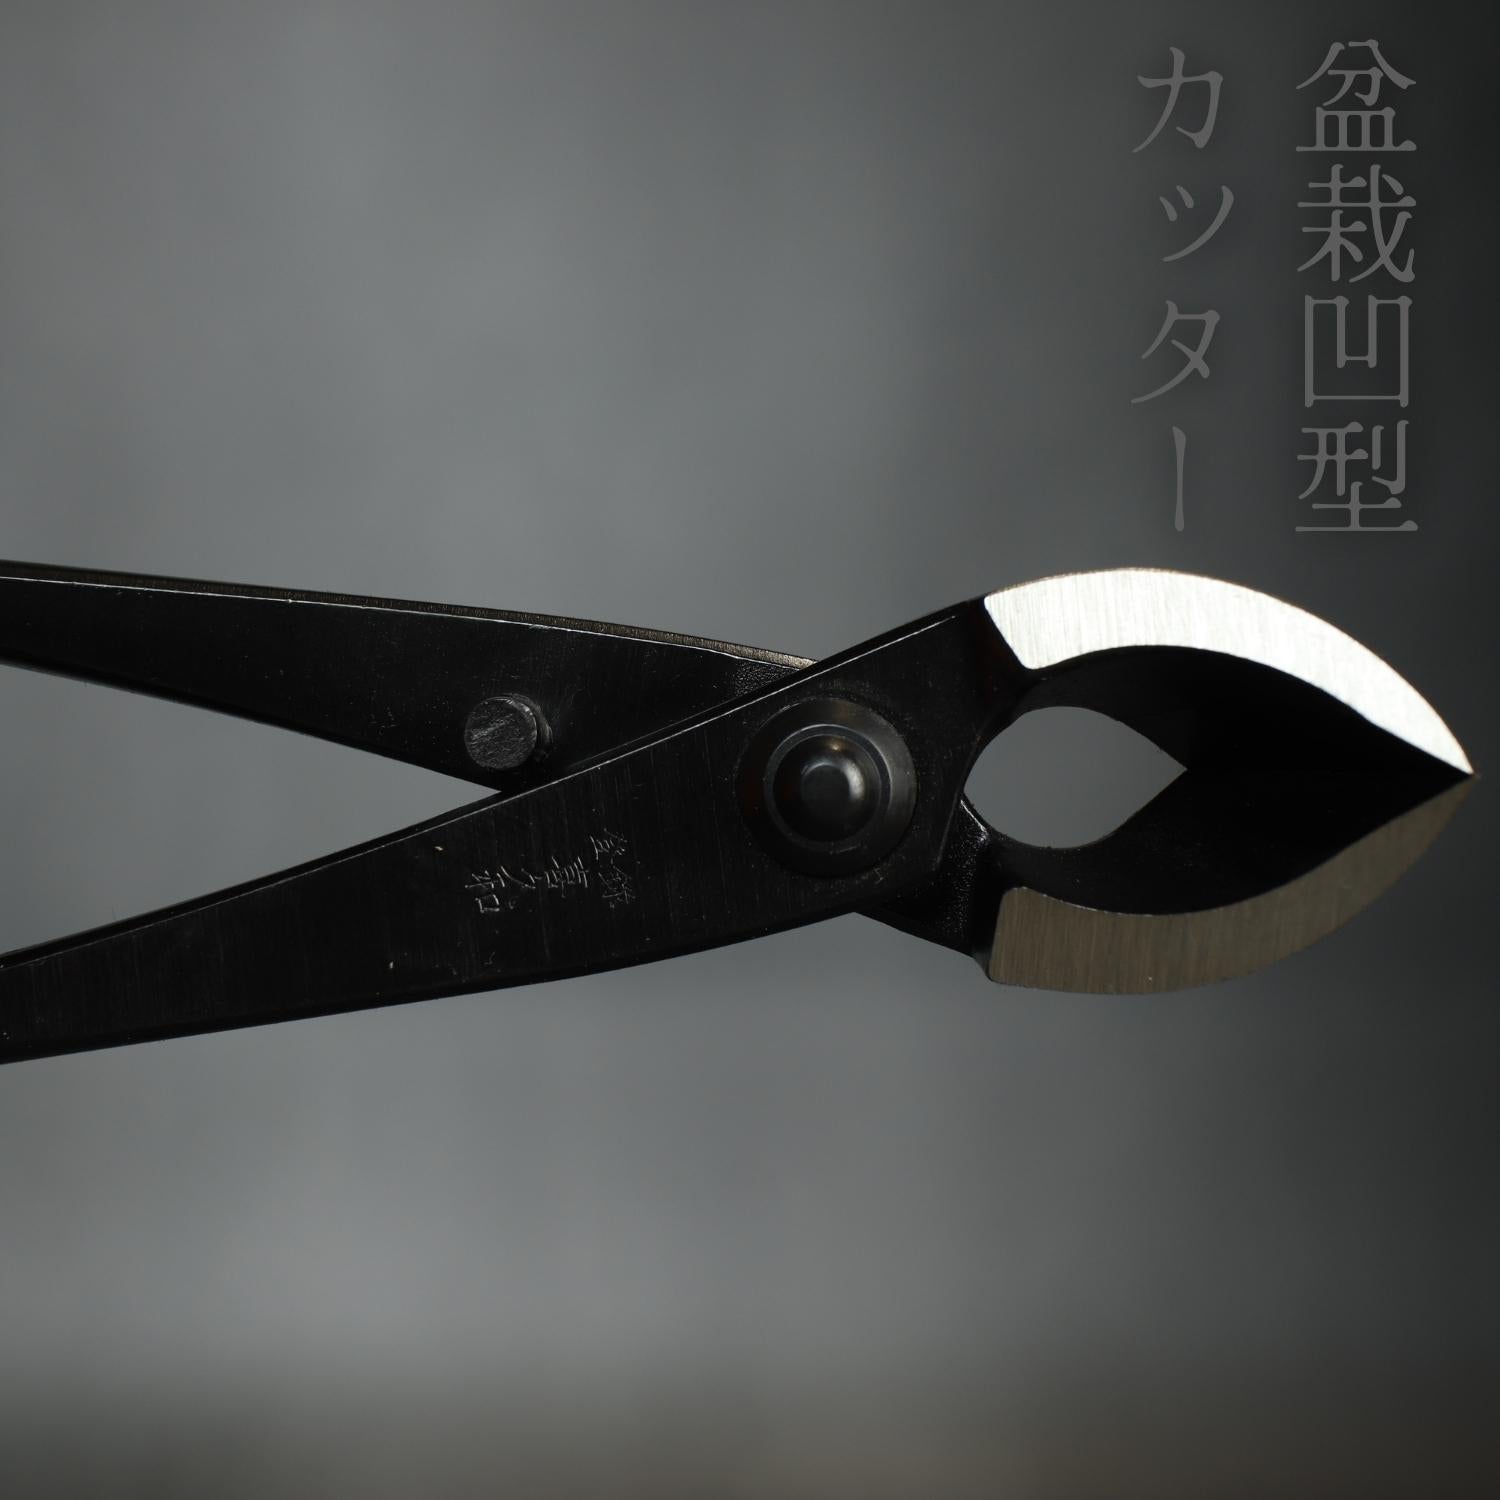
Now you can use this on all your tools and your branch cutters, knob cutters, anything that gets gunk built up on them.
Now, why is it important to use a crean mate?
And I'd like to point out too, that with my crean mate, I use it before every time I use my scissors.
I give them a quick run over with the Crean mate and the reason why is along the blades and especially on the flat edge, if there is build up it will cause your tools not to work properly.
What's going to happen?
your blades are going to separate.
we don't want that to happen as the two Blades pass each other, we want them to pass each other close.
if you've got gunk built up, as the two blades pass each other, the gunk will actually pull the blades apart and separate them causing a gap.
So just using your scissors normally will be fine, but if you've got gunk on there then once again.
You're going to cause a gap between the blade and it's not going to cut properly and you're not going to get that sharp, precise cut that.
So the next thing that we're going to move on to now is.
Our sharpening Stones ,
So before we start, I'm just going to have a quick talk about some types of stones, and also the grits that you use.
so first off, I only use WHETSTONES.
The other normal one that you might see are diamond stones or tools with diamond coatings.
But I wouldn't recommend using them for bonsai tools.
Diamond stones are more or less for
Chisels and all those types of things you could probably use them on more abrasive tools like axes.
Now, the reason that is that diamonds are a lot more abrasive than whetstones.
They move a lot more material.
So if you think about our Bonsai Scissors, there's not a whole lot of material on them.
so we don't want to be moving a tonne of that material off.
we just want to be refining it.
so when we use diamond stones or diamond coated tools for sharpening we were moving a tonne more material than we want to or need too.
A whetstone is a lot less abrasive, but still gets the job done.
I see a lot of people out there using these.
But once again Diamond stones are meant for much stronger steels too move more material.
Not for much finer and delicate jobs like bonsai tools.
We don't want to be moving a ton of material.
The other thing that you got to be careful with.
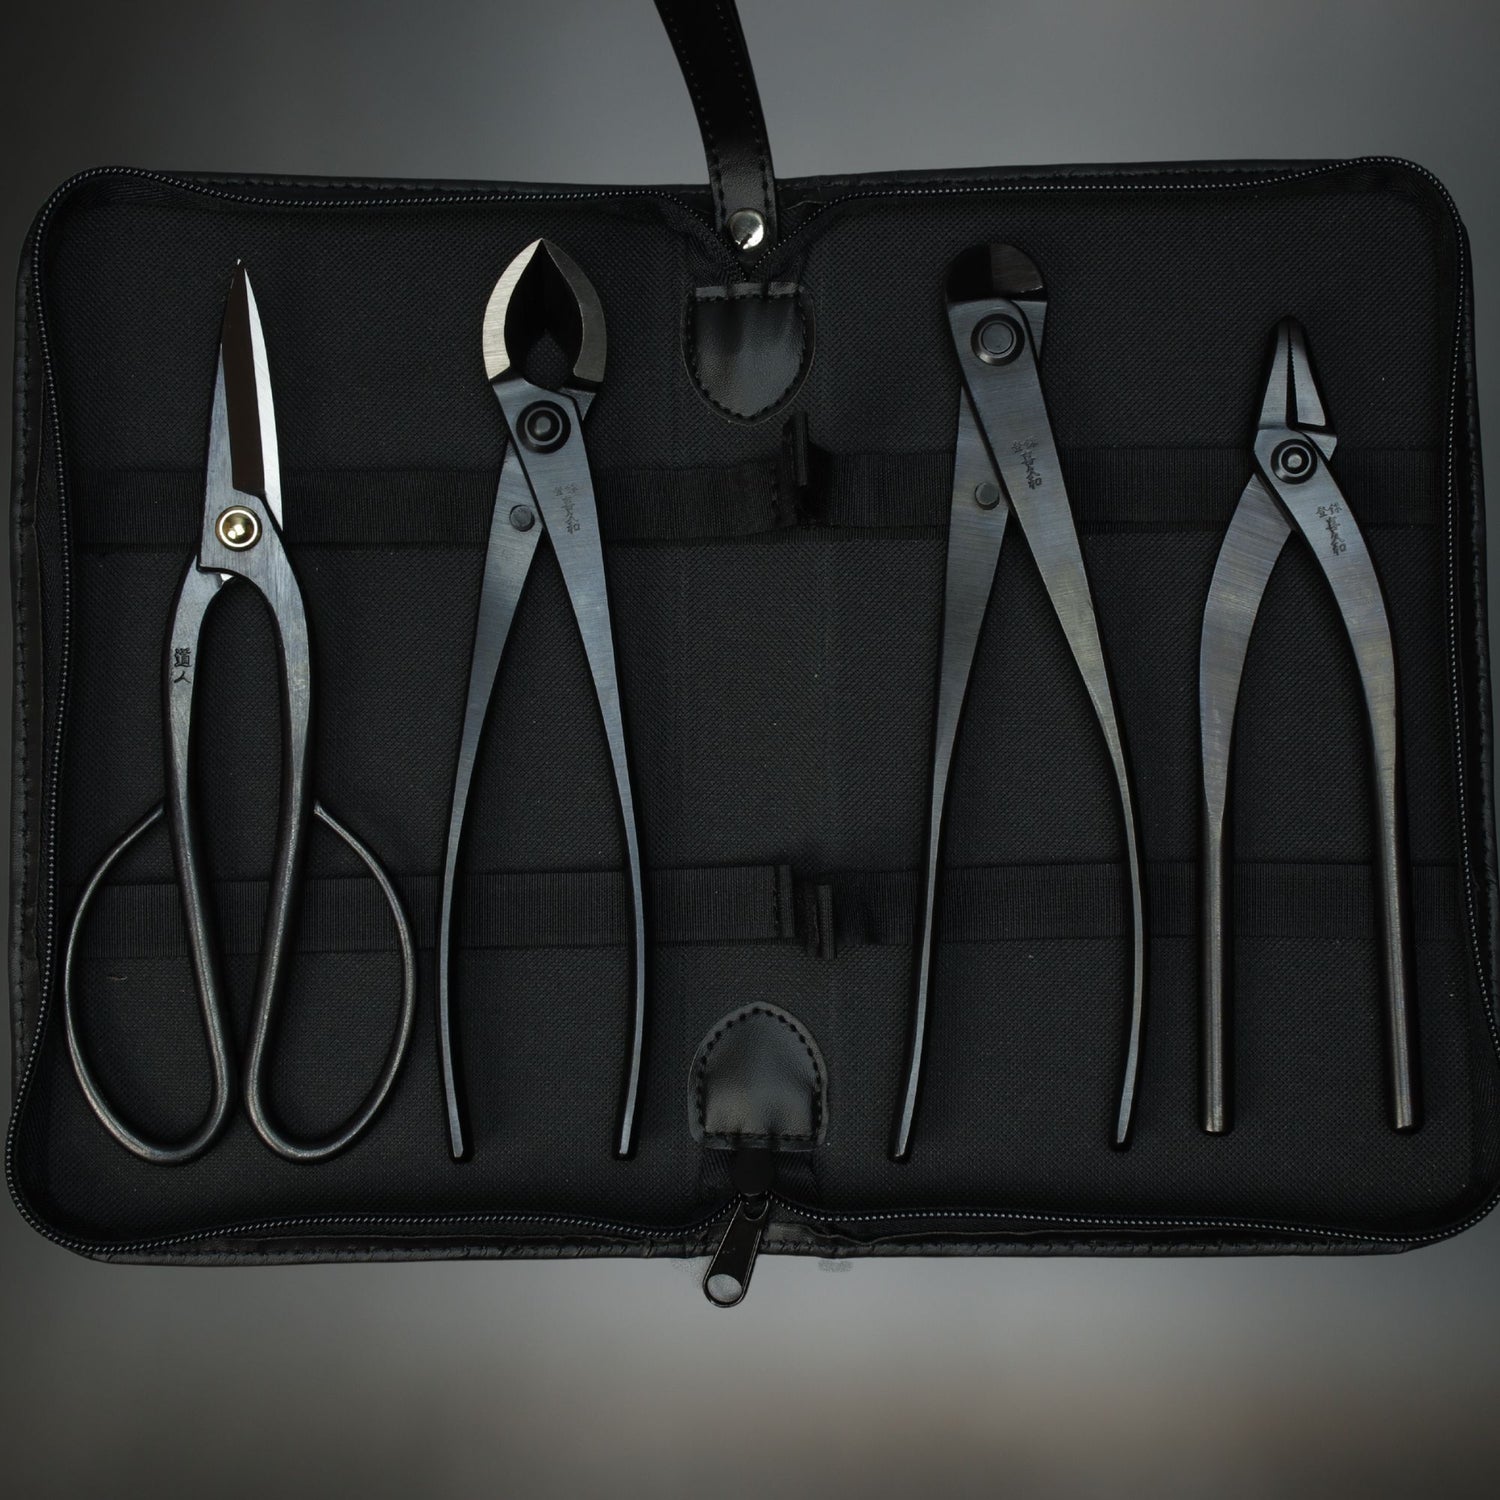
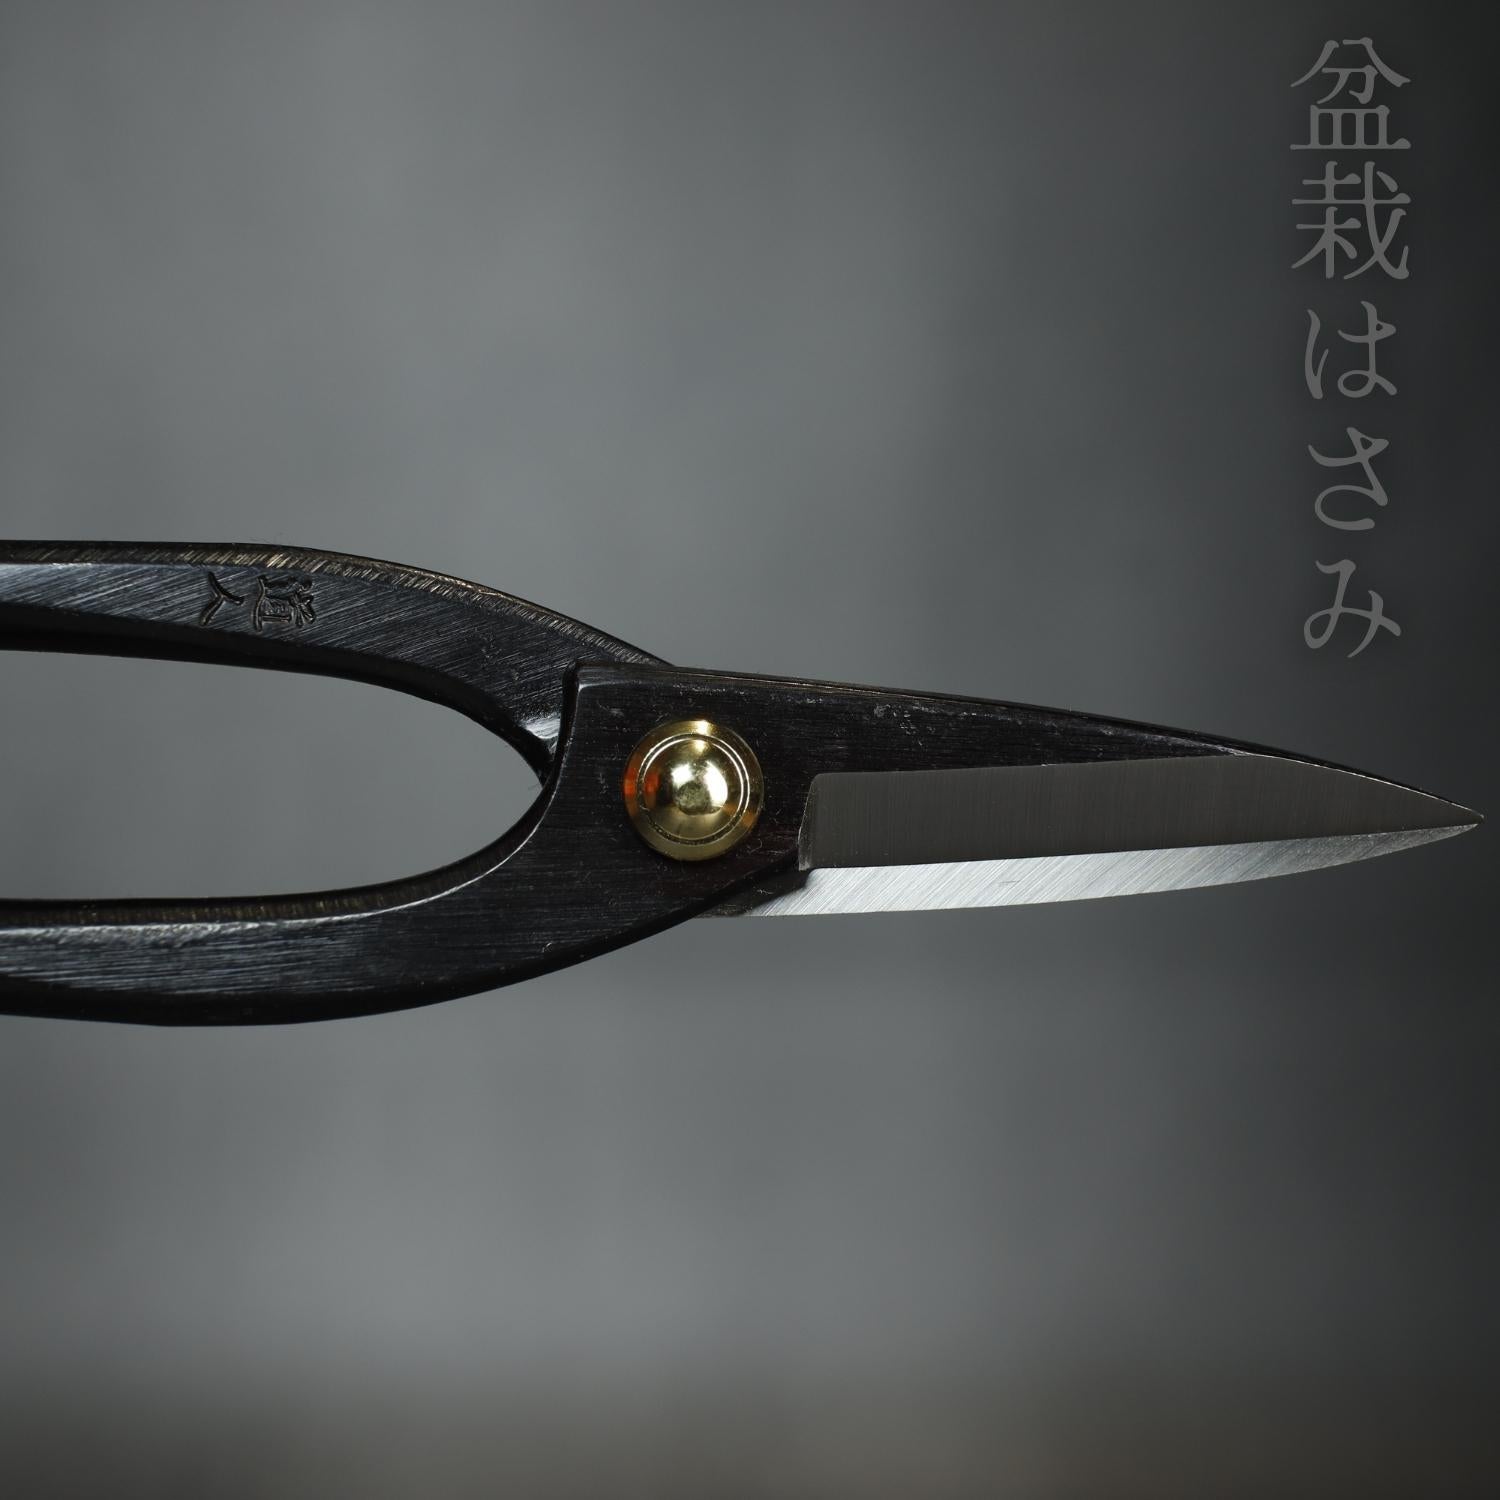
OK, so my set of scissors and basically all my bonsai tools that I use are
Kikuwa bonsai tools.
So with the Kikuwa bonsai tools, I know exactly what steel is in those tools.
And it's Japanese steel, That's very very hard. it's a very good quality carbon steel.
A lot of other brands of bonsai tools out there and I don't want to slag any other Bonsai brands or anything like that, and I'm not going to mention any other brand names.
But let's just say if they're not a tool brand that's made in Japan by a Japanese manufacturer, chances are they probably don't use Japanese steels or a good quality steel.
Japanese steels aren't the only good quality steel in the world, but chances are those other tool brands use Chinese steels.
And you might ask yourself, well, what do you know about steels?
One of my first jobs out of high school for quite a few years I worked in a steel factory.
I used to heat treat steals, I used to tensile test steals and I used to test steals for cracks.
so I've seen quite a lot of steels and how they react.
There was one time we started importing some steels in from China and we had to reject 70 to 80% of that steel, because it was so weak it didn't heat treat well and It cracked meaning anything that was made from that steel would be structurally compromised . It was just horrible stuff.
So the reason why I'm pointing that out it might sound like I'm going on a bit of a rant, but.
When it comes to steel and sharpening, If you've got a weaker grade steel or steel thats just not up to par when you're sharpening, you're actually going to be moving more steel If it's a lower quality, so that's going to segue us into grits.
so the first stone I use is a 320 grit stone.
Now this Kikuwa one is less abrasive Then most of the 320 grit stones that you're going to find
For sharpening knives and swords. The Kikuwa one is made for sharpening bonsai tools.
So the 320 grit is far less abrasive than most of the 320 grits that you're going to find out there in other sharpening stones.
now I would say this is probably closer to like an actual 600 grit stone or some with some of the other stones that are out there.
So this grit would be more or less used for a tool that is going very blunt, or it's got chips and Nicks in it.
so this is really for putting the actual edge back on the tool, its more abrasive.
Still less abrasive if you had a diamond stone or diamond sharpening tool in 320 grit.
Diamond is going to move so much more material than a proper whetstone, so just be very careful.
if you're somebody who's using a diamond stone or you've picked up a diamond stone.
or anything that's a sharpening tool that says it's diamond. Just be careful because a 320 grit in that is going to be so much more abrasive and then you couple that with a cheaper brand of bonsai tool It's got a lesser grade quality steel so that lesser grade the steel mixed with a super abrasive sharpening tool meant for super strong steels is going to cause you some trouble.
So just be careful with that.
My other 2 grits I use are 1200 and 4000 on whetstones ( for good quality tools ).
The 1200 is basically just for refining the edge. Let's just say so we haven't completely lost our cutting edge on the tool, but we just want to bring a bit of sharpness back to that edge.
Now with a high quality carbon steel We're not going to be using this a tonne.
we might only use this let's say once every six months or so, because like we spoke about with our tools before, if we use our high quality carbon steel, it holds its edge so much longer then stainless.
if we had a stainless steel tool, the downside to stainless steel is it's actually a weaker steel, so the the edge of the the blade is going to go dull a lot quicker, so we're going to need to sharpen a lot more with stainless steel tools.
The 4000 Grit is more or less for polishing.
There is kind of an area in between grids, so let's just say from 320 up to about 800 is for putting the actual edge back on the tool, Something that's going really dull or has got chips and nicks.
then say from eight 800 up to about 2000 would be for refining and from 2000 up to about 6000 for polishing and the reason why I say that there's an area in between those grits once again comes down to the the quality of the the tool that you are sharpening.
So hopefully I've explained that well enough that you can figure out.
if you've got a cheaper tool and you want to put the edge back on I'd go up to a 1500 grit ( whetstone ).
because you've got that cheaper tool that has cheaper material it's going to move more material off the blades. If you want to use a 1200 grit like I do, and you've got a cheaper tool, you're going to actually move more material with the 1200 then I would with a higher quality tool.
so try and combat that a bit by going up to a lesser grit with a 1500. I hope that makes sense once again.
A quick re-cap
Any diamond sharpening tools are going to move material a whole lot quicker than a whetstone is.
They're a lot more abrasive so not suitable for the fine bonsai tools we use ( even the good quality ones).
A Whetstone will take a little more time too sharpen but is a lot less abrasive and good for a fine delicate bonsai tool and will move less of the material off the blade meaning you will be able to sharpen more times over the life of your tool as you wont be losing a lot of material off your blade each time you sharpen, you will just be refining.
Now what about preparing a Whetstone for use?
With the Kikuwa ones we sell they are pretty thin so a quick soak until you see the bubbles stop coming out of the stone is sufficient, this is usually around 30 seconds. With some of the older stones they had to be soaked for a few hours but the modern stones are a lot quicker. My other stone which is my 1200 / 4000 combo stone is what is called a splash and go stone meaning you can just splash water on the top and start using it without a pre soak. There are a lot of stones these days that don’t require soaking so just check the manufactueres specs. I do how ever like to still dunk my combo stone in a bucket of water to clean the surfaces off and make sure there is no dirt or anything on the surface that will cause the baldes not to run flat across the stone.
You can see our YouTube video which most of this script was taken from to see a visual demonstration on how to actually sharpen.
Now lets talk about protecting your bonsai tools.
So this is something that you can do after every use of your tools, and it's good practice to do.
This is more so for carbon steel tools than stainless tools.
Carbon steel tools don't have that content of chromium in them like stainless tools do.
so that means that they will rust and a good quality carbon steel like the ones in Kikuwa tools will actually rust overnight.
if I leave my tools outside overnight in just a bit of humidity or a bit of morning jew rests on the tools
By the time I come out in the morning, they'll be covered in surface rust.
so obviously we don't want that.
We want to protect them.
That way we can use these tools for basically, our whole bonsai career as long as you don't lose them.
Or drop them on their tips.
So protecting them up is a good idea, and what we do.
To protect them is we use camellia oil.
this is pretty much the standard in the chef industry, the sword industry, all that kind of stuff, anybody that uses Tools or things like katanas or swords, chefs, knives, those kind of things.
They will use camellia oil to protect them.
Now in the chefs industry, this is really popular because camellia oil is actually food safe.
but in every other industry like bonsai and with people who have swords, it's really popular because it's quite cheap and you need very little of it to put a fine coat over the tool, so a bottle of oil will last you a long time and also too it's very easy to clean up.
Unlike other oils where you kind of just push the oil around the tool and it doesn't really want to come off the tool making the tools slippery to use.
Camellia oil cleans up really easy.
on top of that we've got our applicator, this just makes it easier to apply onto the tool.
There's less wastage.
The last thing I use on a constant basis is Isopropyl Alcohol to both clean my tools before use and also to disinfect them when moving from tree to tree. The alcohol cleans up the camellia oil really easy which is a bonus. But it is important to disinfect between trees because if you work on 1 tree that has a fungal infection you can actually carry the spores on your scissors and apply them to the next tree you work on. All they will need then is some water to help them get start and you'll have a new infection on a new tree in no time.
I hope this has helped with some ideas on tool maintenance and care for you moving forward.
Until Next Time, Enjoy Your Bonsai Journey.
Savings opportunities
Shop Tools And Accessories

Author : Joshua Hooson
Joshua Hooson is an author and enthusiast of the art of bonsai. He has built his knowledge and understanding of bonsai through a combination of self-experience, lessons learned through hands-on practice, and extensive research. His articles reflect his passion for the subject and offer insights gained through his own personal journey in the world of bonsai. All the information provided in his works is a result of his own experiences and the knowledge he has gained through his studies. He is dedicated to sharing his love of bonsai and helping others grow in their understanding and appreciation of this ancient and beautiful art form.

